Thursday, December 4, 2008

A faster way to add parameter to family


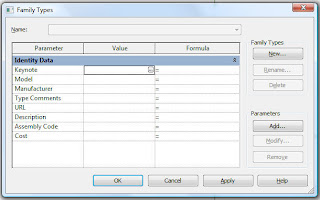
Now, when one created a new Generic Model family, there is no parameter other than the Identity Data. So one tend to add paramater all over again. It will be good that we can use some parameter already created in other family template so to save our time.
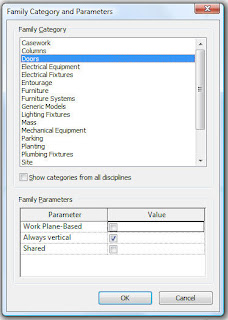
To achieve this, first you change the Family Category and Parameters from Generic Model to say for example: Doors.
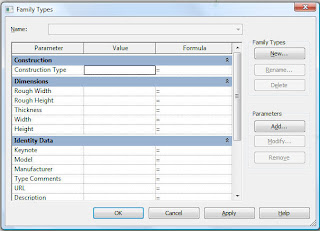


You notice that now you have additional Dimensions and Constraints parameters.
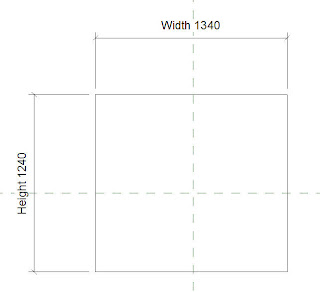


Now draw a solid, dimension and assign the existing Width and Height parameter to it. Then change the Family Category and Parameters from Doors to Generic Model again.
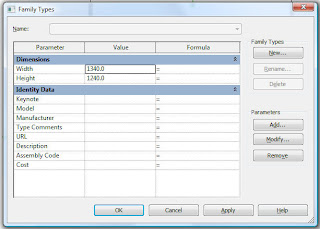


You will notice that now you have only the parameters that you have assigned to your model. All other unused parameter are now discarded.
Wednesday, December 3, 2008

Creating Feature Wall in Revit

This is a follow up article on Revit Nested Families by DesignReForm.net posted on 26 Oct 2008. I notice that there are some comments that the video tutorial is a bit difficult to follow. So I have summarised it to be the following. I find that it useful to create feature wall in a landscaped garden hence the title.

1. Create a new Generic Model family and maybe named it "Box".

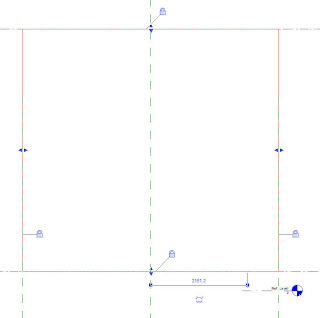
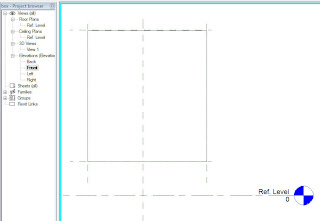
2. Goto Front view and draw 4 reference planes as shown. Notice that I did not use the existing Ref Level for the bottom reference plane. I also did not create an Equal Constraint for the left and right side.

3. Draw a Solid Form using Solid Extrusion. Lock the 4 edges to the Reference Planes.

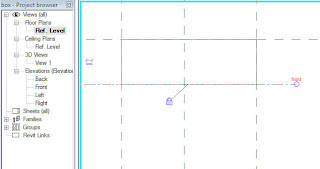
4. Goto Floor Plan - Ref level and draw a Reference Plane above the Centre Ref Plane. Drag the edge of the box and lock it to the Reference Plane drawn.

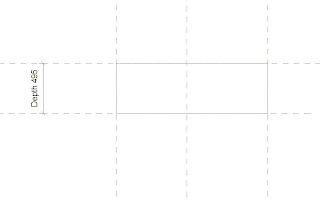
5. Dimension the Reference Planes in Floor Plan view and add "Depth" parameter to it. Make it an Instance parameter.

6. In Front Elevation view dimension the Reference Planes as shown. Add "Width" and "Height" Instance parameter accordingly.

7. Save the family and named it "Box".

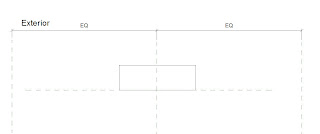
8. Create a new Curtain Panel family. In Floor Plan view place the created "Box" as shown. Note that the "Box" should face towards Exterior.

9. Drag the left and right sides of the placed "Box" and lock them to the respective Reference Planes.

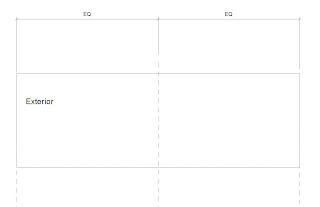
10. Goto Elevation - Exterior view and drag the bottom Reference Plane away from the Ref Level as shown. Then drag the top and bottom sides of the "Box" and lock them to the respective Reference Planes.

11. Save the curtain panel family and named it "Box Panel".


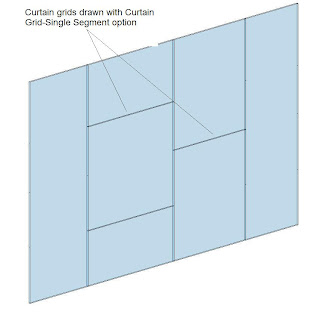
12. Create a new project. Draw a curtain wall and add curtain grids as shown. I have used Single Segment Curtain Grids to draw the Curtain Grids.

13. Load the new curtain panel "Box Panel" into the new project. Named the project "Feature Wall'

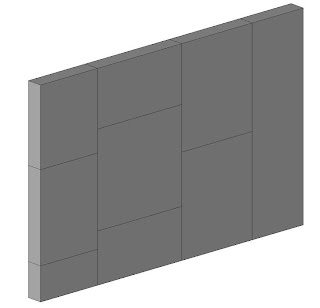
14. Use Filter Selection and select all the curtain panels. Replace all the curtain panels with "Box Panel". Now, the wall looks interesting but we want to make an uneven feature wall. We can use some formula to make this happen.


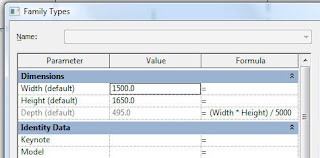
15. Go back to the "Box" Generic Model. Add a formula on the "Depth" parameter. In this case, I want the depth to be driven by the "Width" and "Height" parameter. The formula I use:
(Width * Height) / 5000.

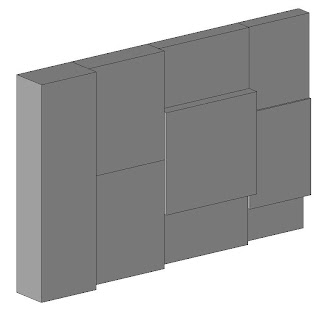
16. Load the new "Box" into the curtain panel family "Box Panel". Override all the existing parameters. Then load the modified "Box Panel" into the "Feature Wall" project. Override all the existing parameter as well.

17. The new "Feature Wall" is created. You may try to explore with a different formula to drive the Depth value to achieve different results.