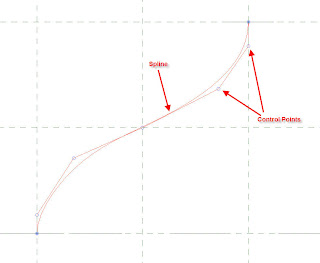
1. Create a new generic family. In this case, I am assuming my curtain panel to be 1000mm x 1000mm. Go to front view and create all the necessary reference planes as shown. Then use Spline to draw the path. Add the control points as necessary. The extra control points will make the curvature end at the top end bottom in a tangential manner.
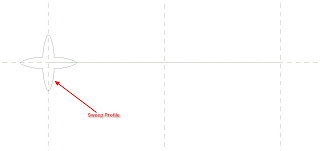
2. Draw the profile as shown at the end of the path.
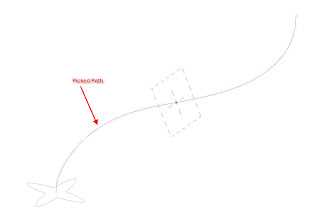
3. Goto Solid Form and choose Solid Sweep. Pick the path as shown.
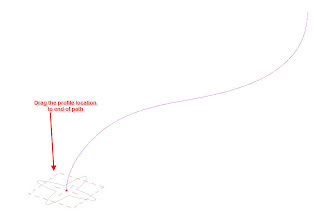
4. Drag the Profile location to the end of the path.
5. Pick on Profile and choose the profile as shown.
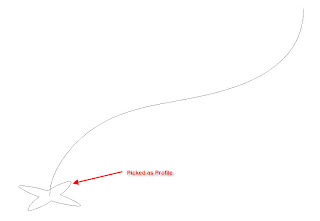
6. Choose Finish Sweep and mirror the created sweep.
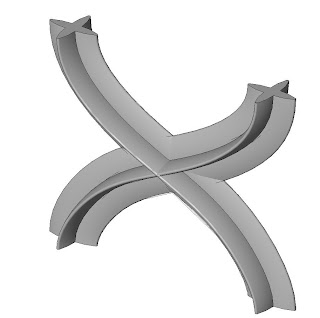
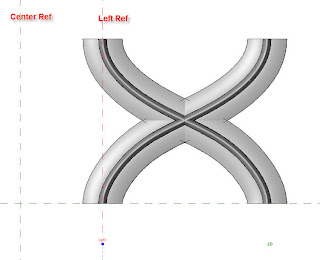
7. Saved the generic model and loaded into a new curtain panel family. Placed the generic sweep with Left Reference as origin. This is so that the cutain panel will be placed properly.
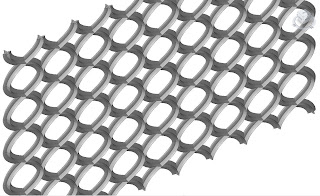
8. Create a new curtain wall with the grid spacing of 1000mm x 1000mm. Replaced all the curtain panel with the new custom panel.


2 comments:
wow!! this blog is absolutely amazing!!! i really liked, i think all the information contained in this blog are very useful and very interesting. i really enjoyed reading. i am very curious for everything, usually i want to know new things. this is the reason why i like to know
buy viagra
This stuff is down t earth, hats off buds out there.
tie backs for drapes
Post a Comment